
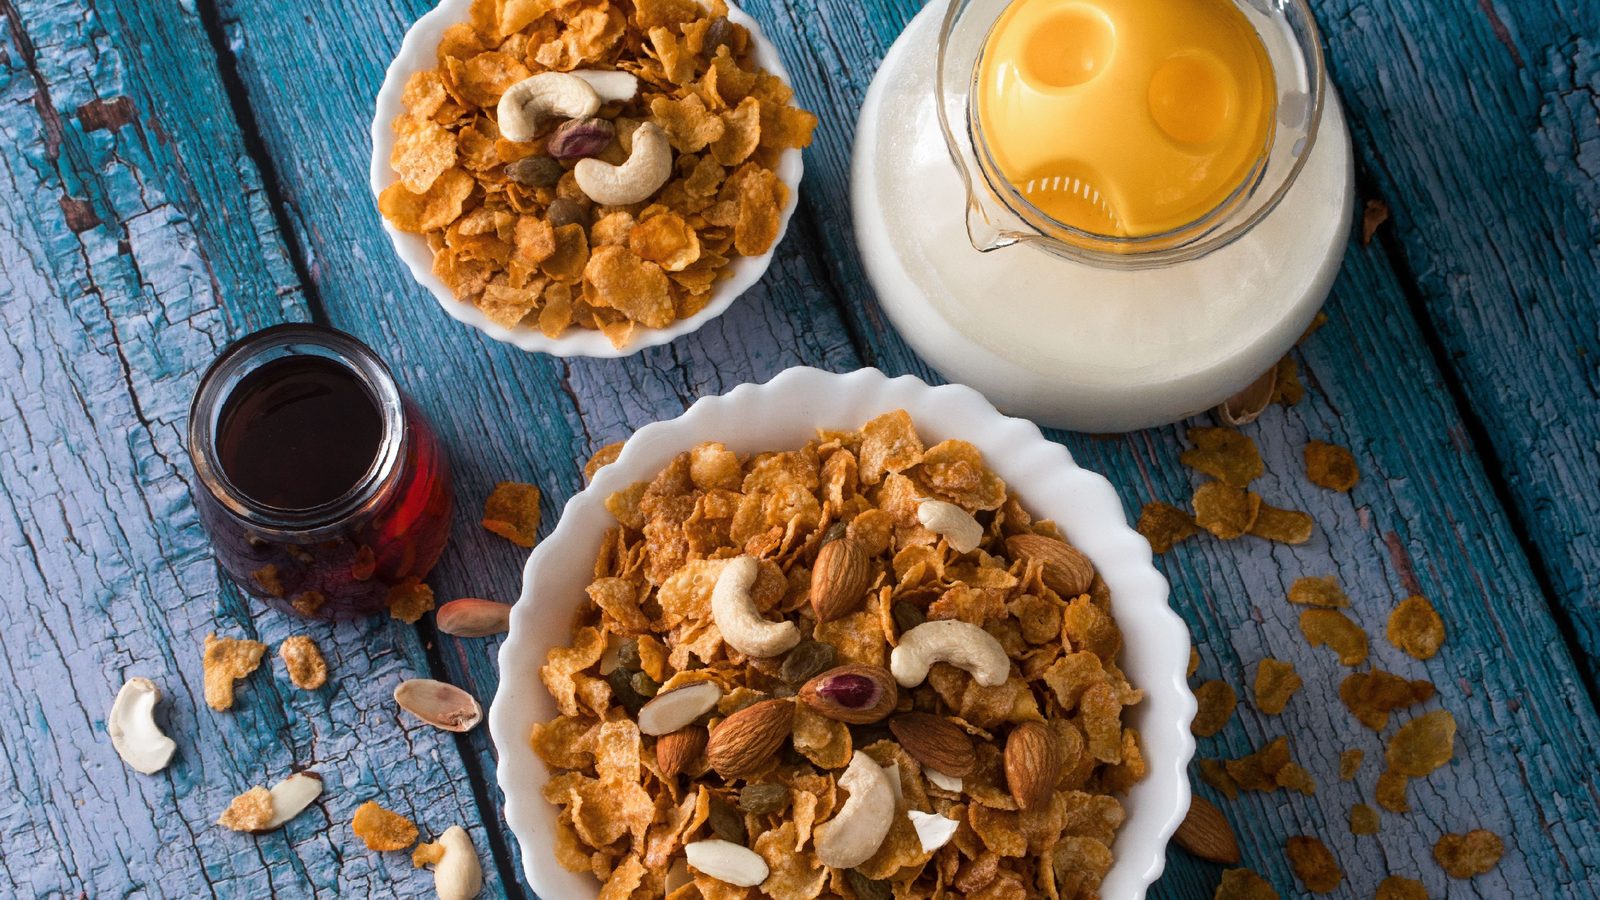
Quick answer: For crunchy roasted poha chivda, use thin (patal) poha and dry-roast it on low heat for 12–15 minutes until it’s crisp and breaks with a snap. Then make a small tadka in 2–3 tablespoons of oil with peanuts, dalia, curry leaves, green chilli, turmeric and hing, and toss the poha in it off the heat. Add powdered sugar and salt, cool fully and store airtight.
Key takeaways
- Thin poha only. Thick poha stays hard when roasted.
- Roast slowly on low heat until it snaps. Chewy poha means it needs more time.
- The tadka uses 2–3 tbsp oil instead of a kadhai of oil.
- Cool completely before storing, or steam makes it soft.
Why Make Roasted Poha Chivda This Diwali?
Poha chivda is one of the easiest Diwali faral items. It doesn’t need a mould like chakli or rolling like shankarpali. The fried version is delicious, but it soaks up a lot of oil. The roasted kind gives you the same crunch, the same sweet-salty-spicy taste and a much lighter plate.
It’s also quick. Once you’ve done it once, a big batch takes about 30 minutes.
In this article, you’ll learn:
- The right poha to use
- A step-by-step roasted poha chivda recipe
- How to keep it crunchy
- Fried vs roasted, compared
- Easy variations
Ingredients for Roasted Poha Chivda
Makes about 8 cups.
| Ingredient | Quantity |
|---|---|
| Thin poha (patal / nylon poha) | 4 cups |
| Oil | 2–3 tbsp |
| Peanuts | ½ cup |
| Roasted chana dal (dalia / putana) | ⅓ cup |
| Dry coconut slices (optional) | ¼ cup |
| Cashews (optional) | 10–12 |
| Curry leaves | 2 sprigs |
| Green chillies, chopped | 3–4 |
| Mustard seeds | 1 tsp |
| Turmeric | ½ tsp |
| Hing (asafoetida) | ¼ tsp |
| Powdered sugar | 1–2 tbsp |
| Salt | to taste |
Step-by-Step Poha Chivda Recipe
Step 1: Sieve and roast the poha
Sieve the poha to remove fine bits. Heat a wide, heavy kadhai on low. Add poha and roast, stirring gently, for 12–15 minutes. Don’t rush with high heat; it’ll brown outside and stay chewy inside.
Test a flake: it should break with a snap between your fingers. Move it to a big plate.
Microwave option: spread 1 cup at a time on a plate and microwave on high for 1–2 minutes, stirring every 30 seconds, until crisp. Timings vary by microwave.
Step 2: Make the tadka
In the same kadhai, heat 2–3 tablespoons of oil on medium. Add peanuts and fry until they crackle and turn golden. Add dalia, coconut slices and cashews; stir for a minute.
Add mustard seeds. When they splutter, add green chillies and curry leaves. Let the curry leaves turn crisp. Lower the heat, add hing and turmeric.
Step 3: Mix
Turn off the heat. Add the roasted poha and toss gently with a light hand so the flakes don’t break. The yellow tadka should coat everything.
Step 4: Season and cool
Sprinkle powdered sugar and salt, toss again. Spread on a large plate and let it cool completely, about 30 minutes.
Fried vs Roasted Poha Chivda
| Fried chivda | Roasted chivda | |
|---|---|---|
| Oil used | Deep frying, poha absorbs plenty | 2–3 tbsp for a whole batch |
| Texture | Puffy, very light | Crisp, flatter flakes |
| Poha type | Thick or thin | Thin only |
| Time | 30–40 minutes | About 30 minutes |
| Shelf life (airtight) | About 2 weeks | About 2 weeks |
Both taste great. The roasted version is the better pick if you’re watching oil, cooking for older family members, or making a big batch for gifting.
Tips to Keep Poha Chivda Crunchy
- Thin poha only. Thick poha won’t crisp properly when dry-roasted.
- Low heat, patience. Most chewy chivda comes from under-roasting.
- Crisp curry leaves. Soft leaves add moisture and make the mix go limp.
- Powdered sugar, not granules. It sticks evenly and doesn’t pull moisture.
- Cool fully before closing the container.
- Airtight glass or steel jar, away from the stove.
Our guide on how to store Diwali faral so it stays crispy has more storage tips. If your chivda turns soft after a few days, dry-roast it for 3–4 minutes on low heat, cool and store again.
Common Poha Chivda Problems and Fixes
| Problem | Likely cause | Fix |
|---|---|---|
| Chewy flakes | Under-roasted or thick poha | Roast longer on low heat, use thin poha |
| Burnt, bitter taste | Heat too high | Keep the flame low and keep stirring |
| Turmeric patches | Turmeric added to hot oil and poha added too late | Add turmeric on low heat, mix poha in quickly |
| Too much broken poha | Rough stirring | Toss gently with a flat spatula |
| Soft after two days | Stored warm, or jar not airtight | Re-roast 3–4 minutes, cool and store again |
| Sugar clumps | Granulated sugar or moisture | Use powdered sugar on fully cooled chivda |
Making Poha Chivda for Gifting
Homemade chivda makes a lovely Diwali gift. Pack it in clean, dry glass jars or food-grade zip pouches, and add a small label with the date. Make it no more than a few days before you hand it over so it reaches people at its crunchiest. Keep the sweet and spicy versions in separate jars so friends can choose. If you’re sending it by courier, fill jars to the top so the flakes don’t rattle and break on the way.
Easy Variations
- Makhana-poha chivda: add 1 cup roasted makhana for extra crunch.
- No-sugar version: skip sugar entirely, add a squeeze of lemon and chaat masala after cooling.
- Spicy Kolhapuri-style: add 1 tsp red chilli powder with the turmeric.
- Corn flakes mix: add 1 cup unsweetened corn flakes after roasting.
Watch your salt if anyone at home has high blood pressure. The FSSAI Eat Right India campaign encourages cutting salt, sugar and oil a little at a time. Roasted chivda already helps with the oil part. The ICMR-NIN guidelines also suggest keeping fried snacks occasional.
Frequently Asked Questions About Poha Chivda
Q: Why is my roasted poha chivda chewy?
The poha wasn’t roasted long enough, or it was thick poha. Roast thin poha on low heat until it snaps.
Q: Can I make poha chivda in an air fryer?
Yes. Air fry thin poha at about 160°C for 4–6 minutes, shaking every 2 minutes. Small batches work best.
Q: How long does poha chivda last?
About 2 weeks in an airtight container if it was fully cooled before storing.
Q: Can I use thick poha?
Thick poha is better for the fried version. For roasted poha chivda, thin poha gives the best crunch.
The Bottom Line
Roasted poha chivda gives you the crunch of the classic Diwali snack with a fraction of the oil. Use thin poha, roast it patiently, keep the tadka crisp and cool everything fully. Make a big batch this weekend and you’re set for guests.
Save this recipe, share it with your family group, and follow SmartCooking.in on WhatsApp for more easy Diwali faral.